Bare metal K8s Cluster with Proxmox
What is K8s?
Kubernetes (also known as "K8s") is an open-source container orchestration system for automating the deployment, scaling, and management of containerized applications. Kubernetes is designed to be used in environments with multiple microservices, and it helps to manage the complexities of these environments by providing a range of features and tools for deploying, scaling, and maintaining the various components of an application. One of the main benefits of using Kubernetes is that it allows you to automate the deployment and management of your applications, which can save a lot of time and effort. It also provides a range of features for monitoring and scaling your applications, so you can ensure that they are always running smoothly.
Why run it bare metal?
There are a number of reasons why you might want to run Kubernetes on bare metal, including:
-
Cost: Running Kubernetes on your own hardware can be more cost-effective than using a cloud provider, especially if you have a large number of nodes or if you have a long-term commitment to running your applications.
-
Performance: Depending on your workload and hardware, running Kubernetes on bare metal may offer better performance than running it in the cloud. This is because you have more control over the hardware and you can optimize it specifically for your workload.
-
Security: By running Kubernetes on your own hardware, you have more control over the security of your system. This can be especially important if you have sensitive data or if you need to meet strict compliance requirements.
-
Customization: Running Kubernetes on bare metal allows you to customize your setup to your specific needs and requirements. For example, you can choose the hardware and operating system that you want to use, and you can configure the system exactly how you want it.
-
Fun and Learning: Most important of all! If you want to try things out and you have the equipment (even a intel NUC would be able to run a 3 Node cluster), you could deploy containers on it and use a proxy to self-host your own applications.
Setting up the VMs
I have Proxmox installed on a HPE ProLiant MicroServer Gen10 Plus, which I will use to deploy Kubernetes on. I use this little server usually as a homelab to experiment with different technologies before I would use it in production. In this article, we will create a Kubernetes cluster with 1 Control Plane and 2 Nodes. I will create 3 VMs on Proxmox which all will have the following specs:
- OS: Ubuntu22.04
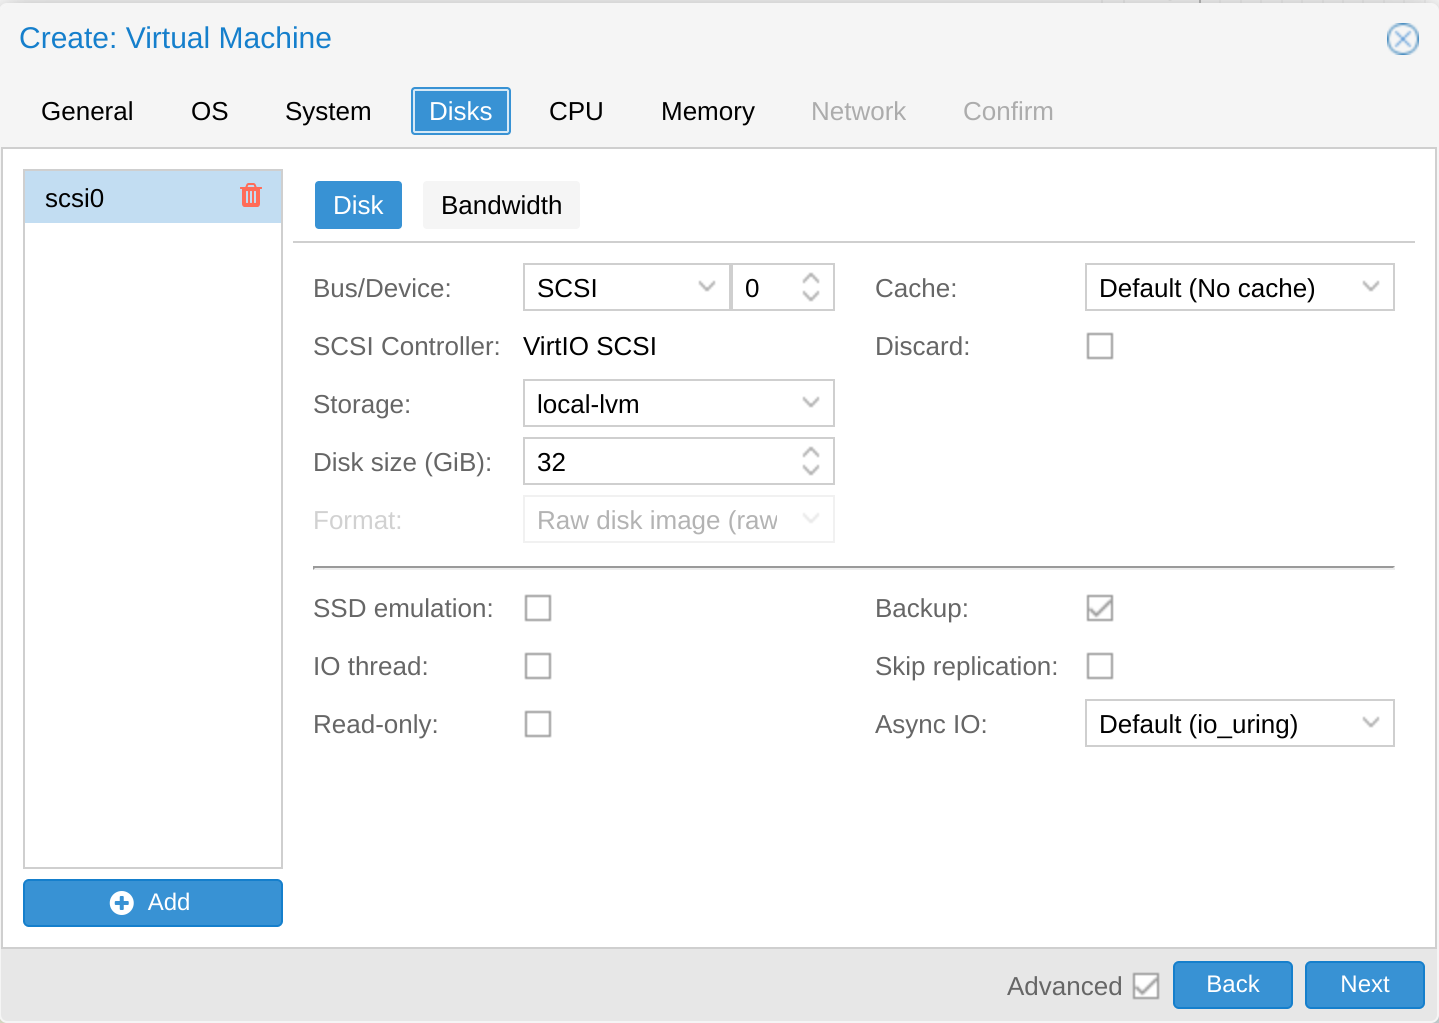
- Disk: 32Gb
- VCPUs: 4
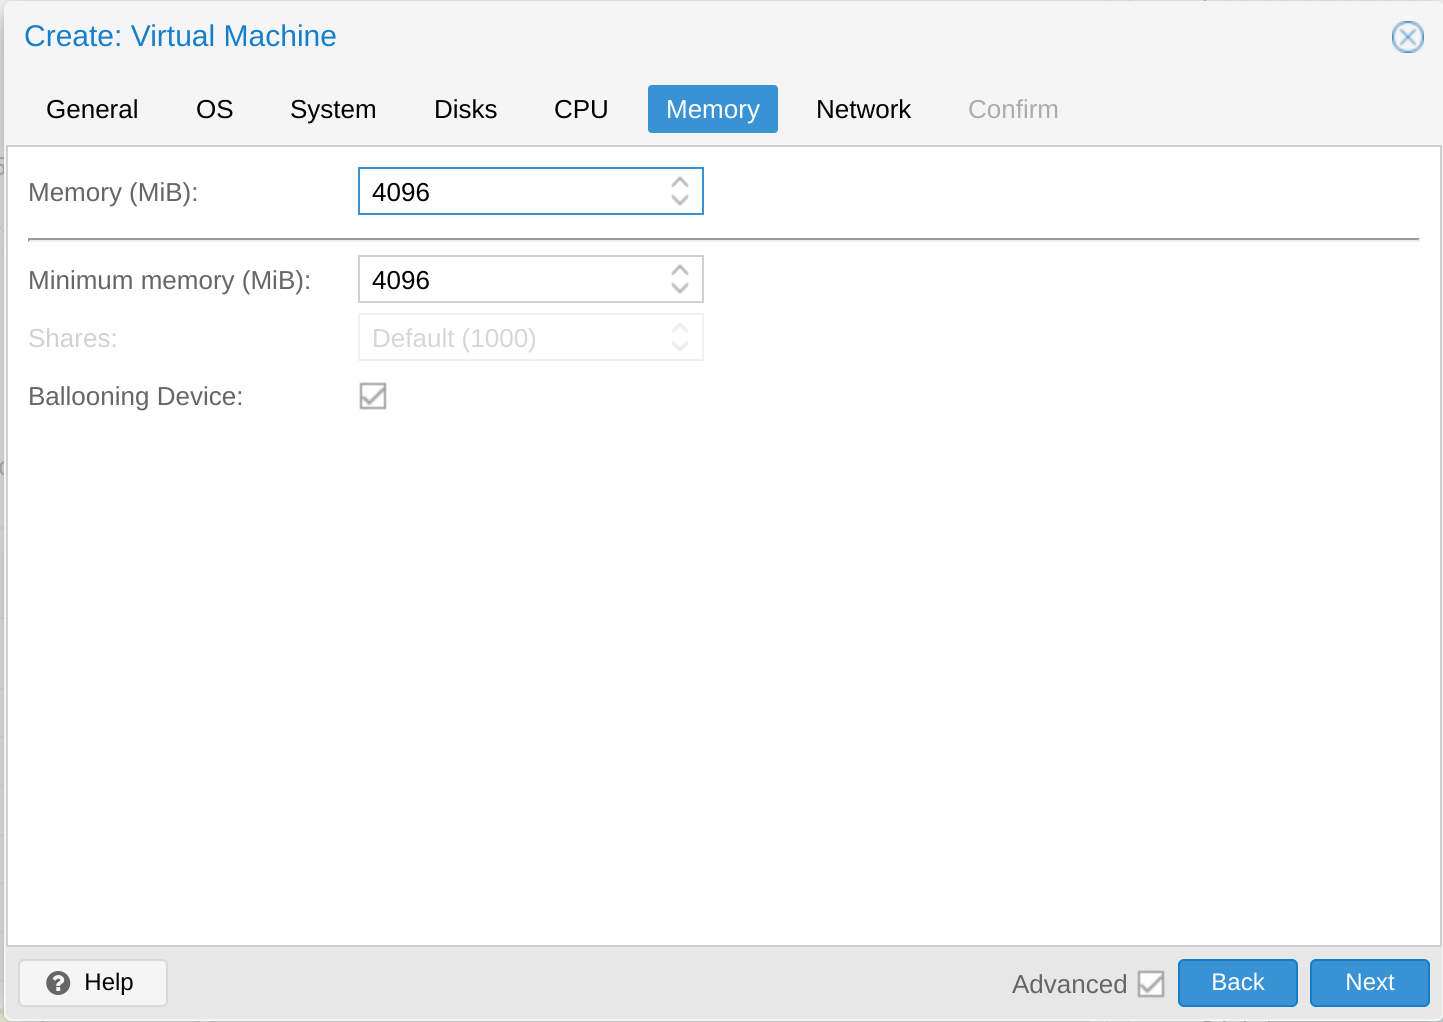
- Memory: 4096 MiB
The easiest is to setup one VM first, install all the dependencies, then clone it for the other two.
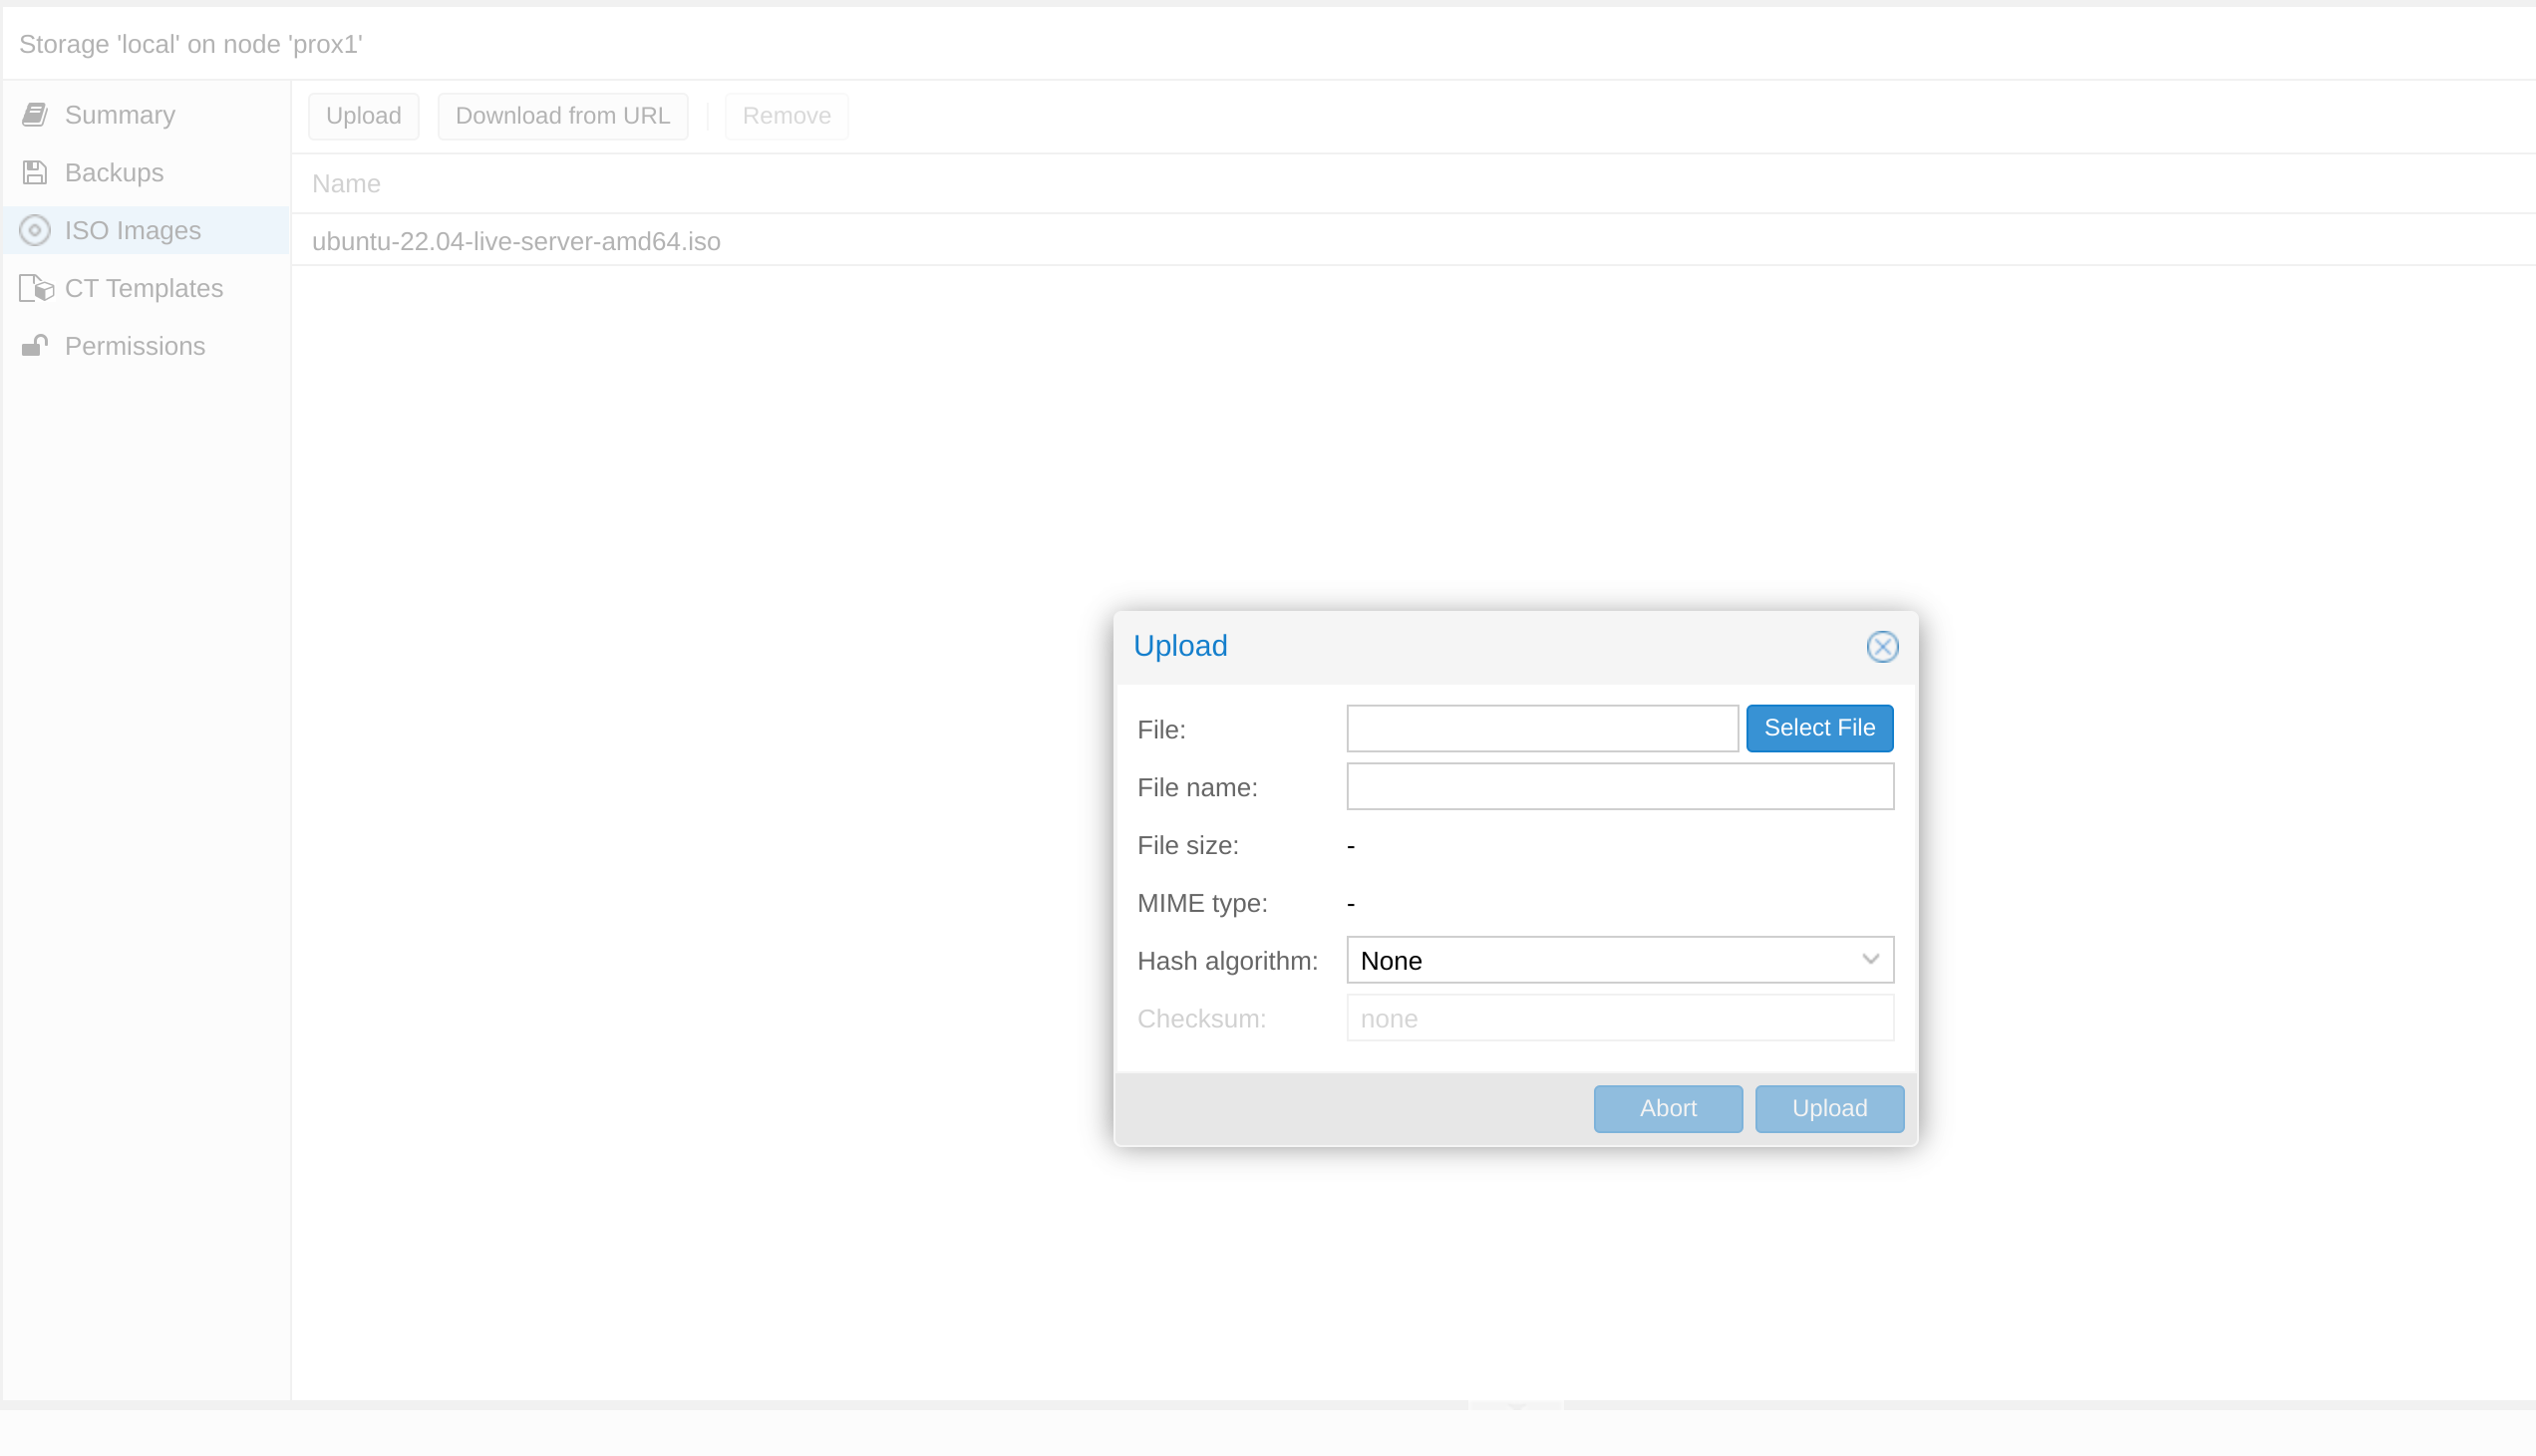
We start by downloading the Ubuntu22.04 image and uploading it to Proxmox (or whichever hypervisor you are using).
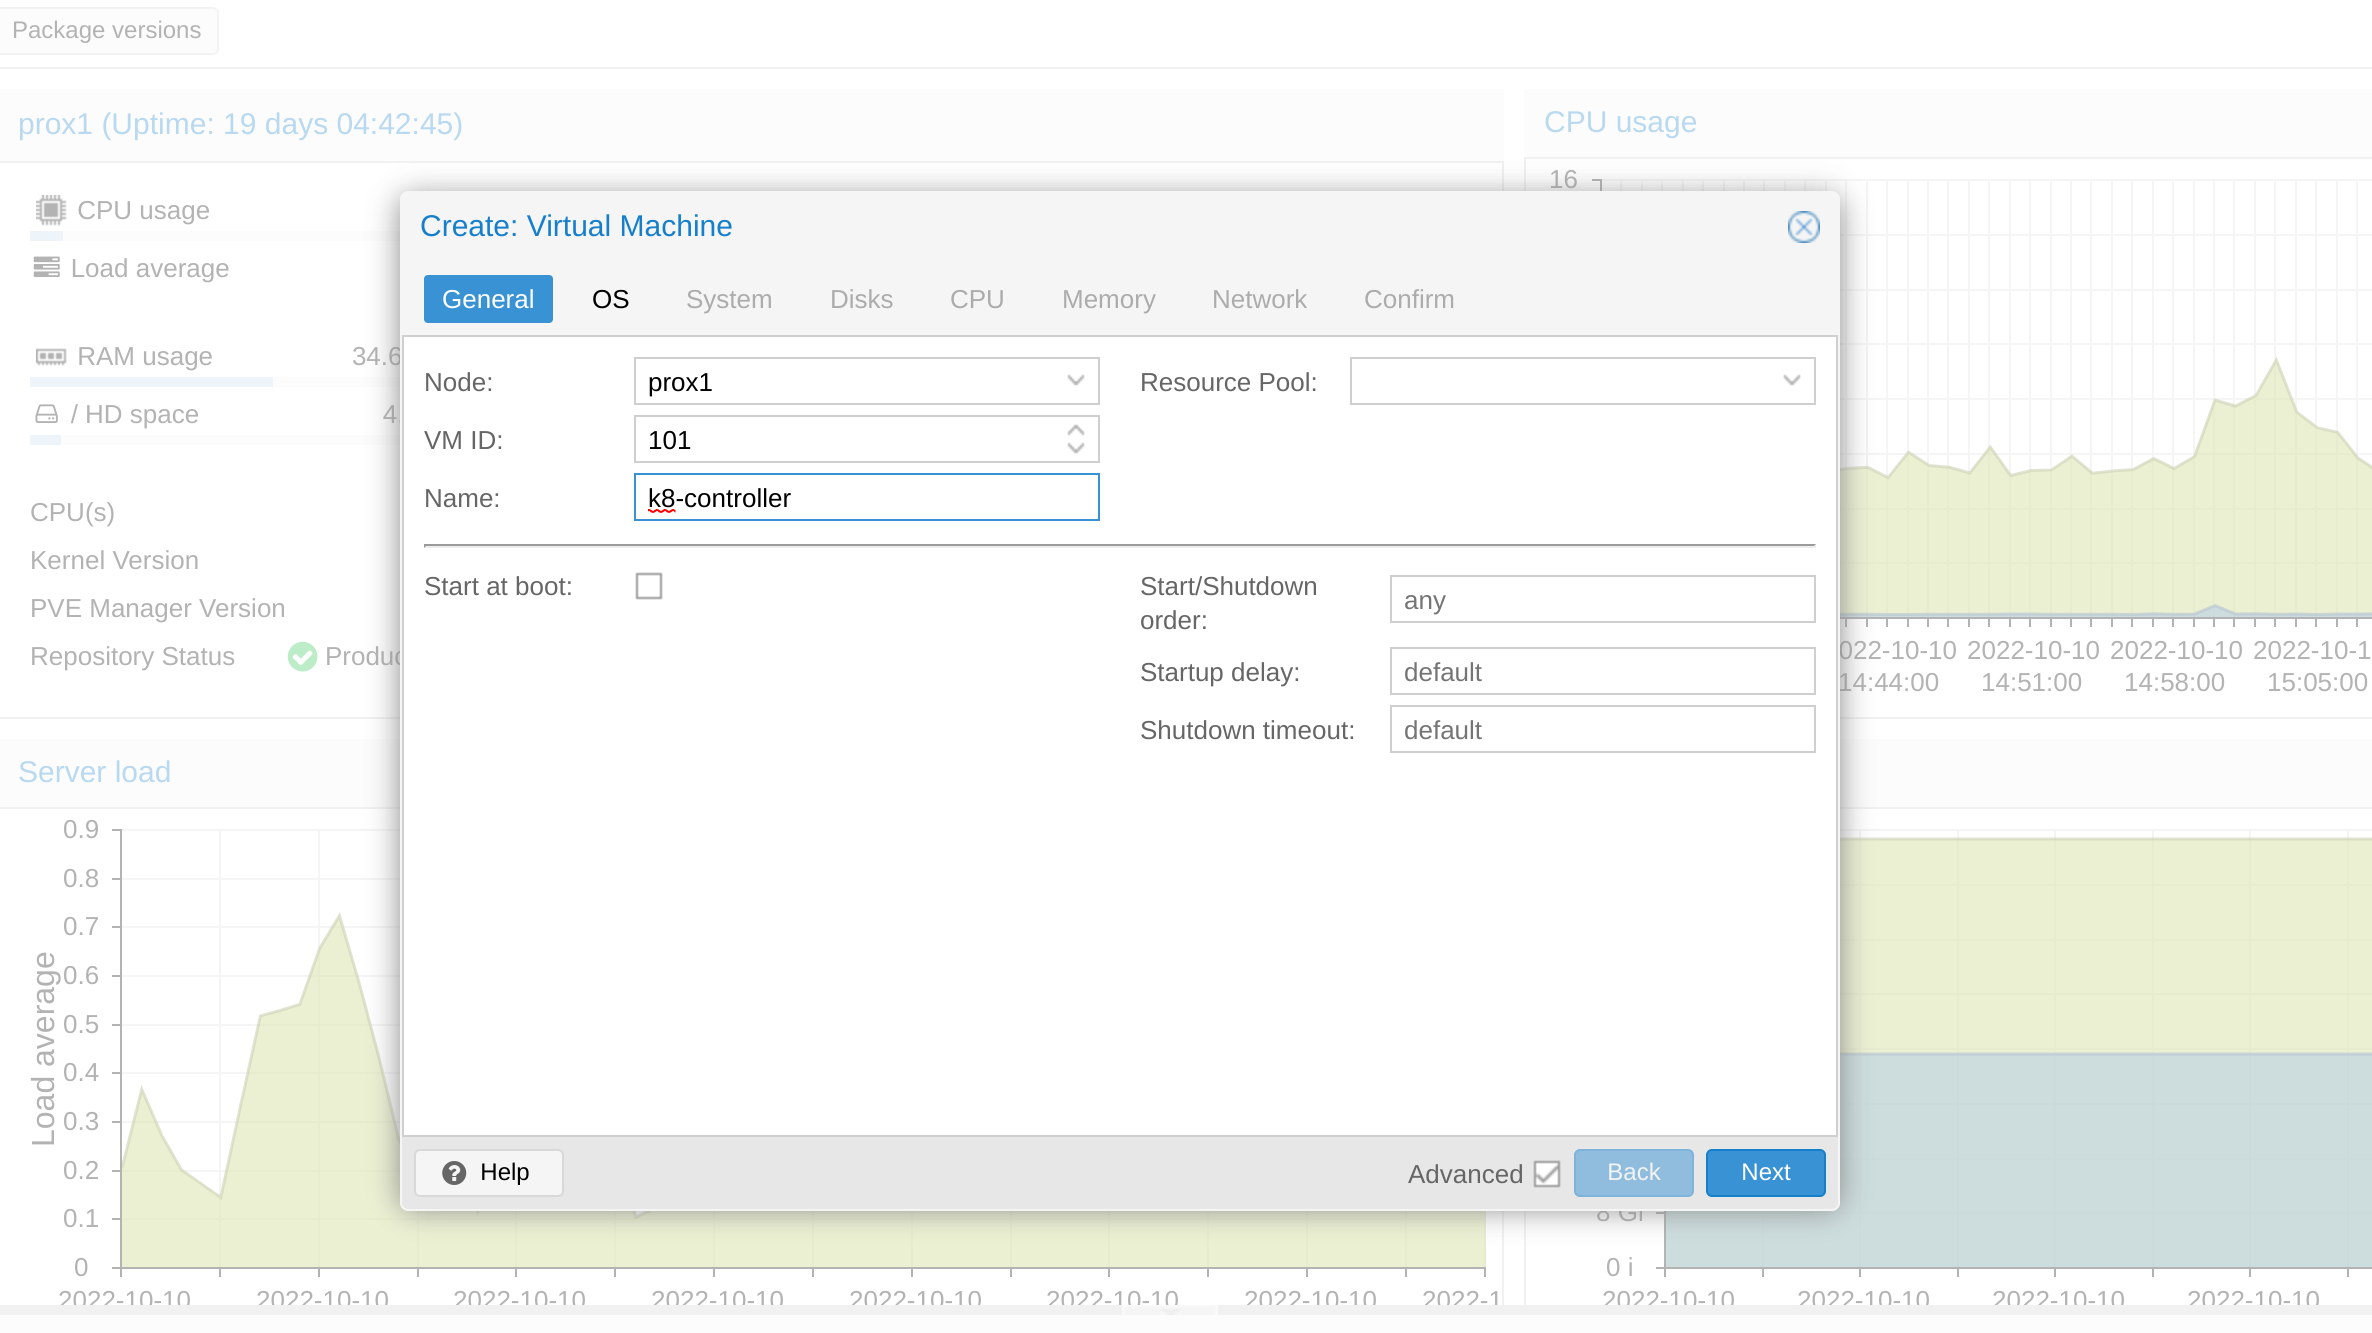
Then we can create a new VM, named k8-controller and start with the VM configuration
In the OS section, choose the Ubuntu22.04 image, which was uploaded

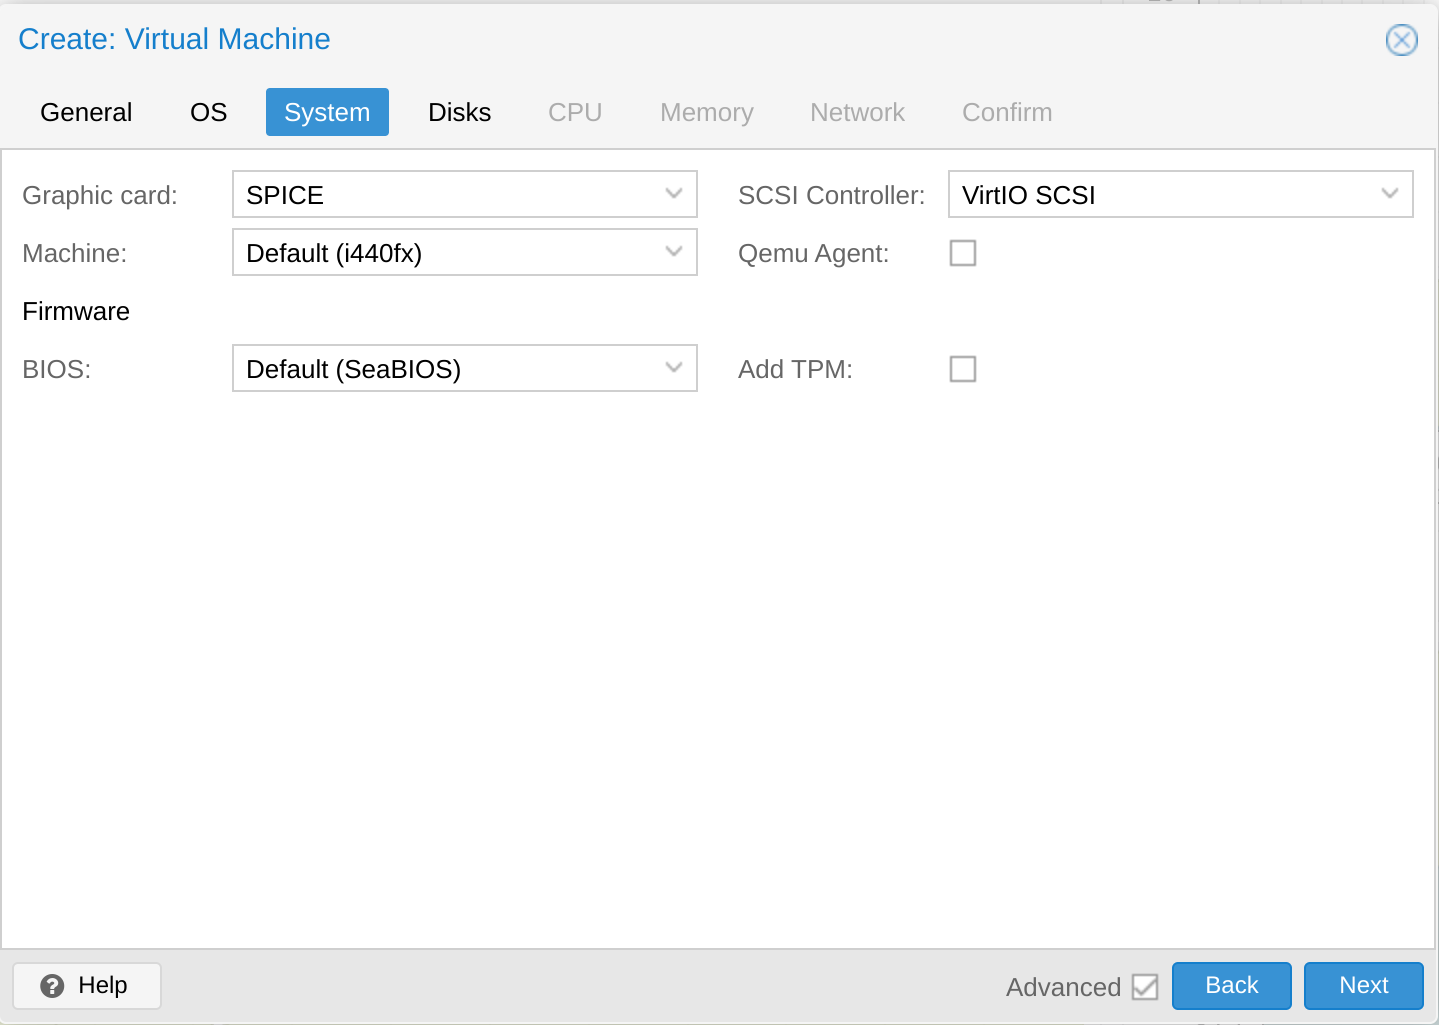
In System, select SPICE for Graphic card
Specify your disk size
Specify the # of CPUs

Set the amount of memory
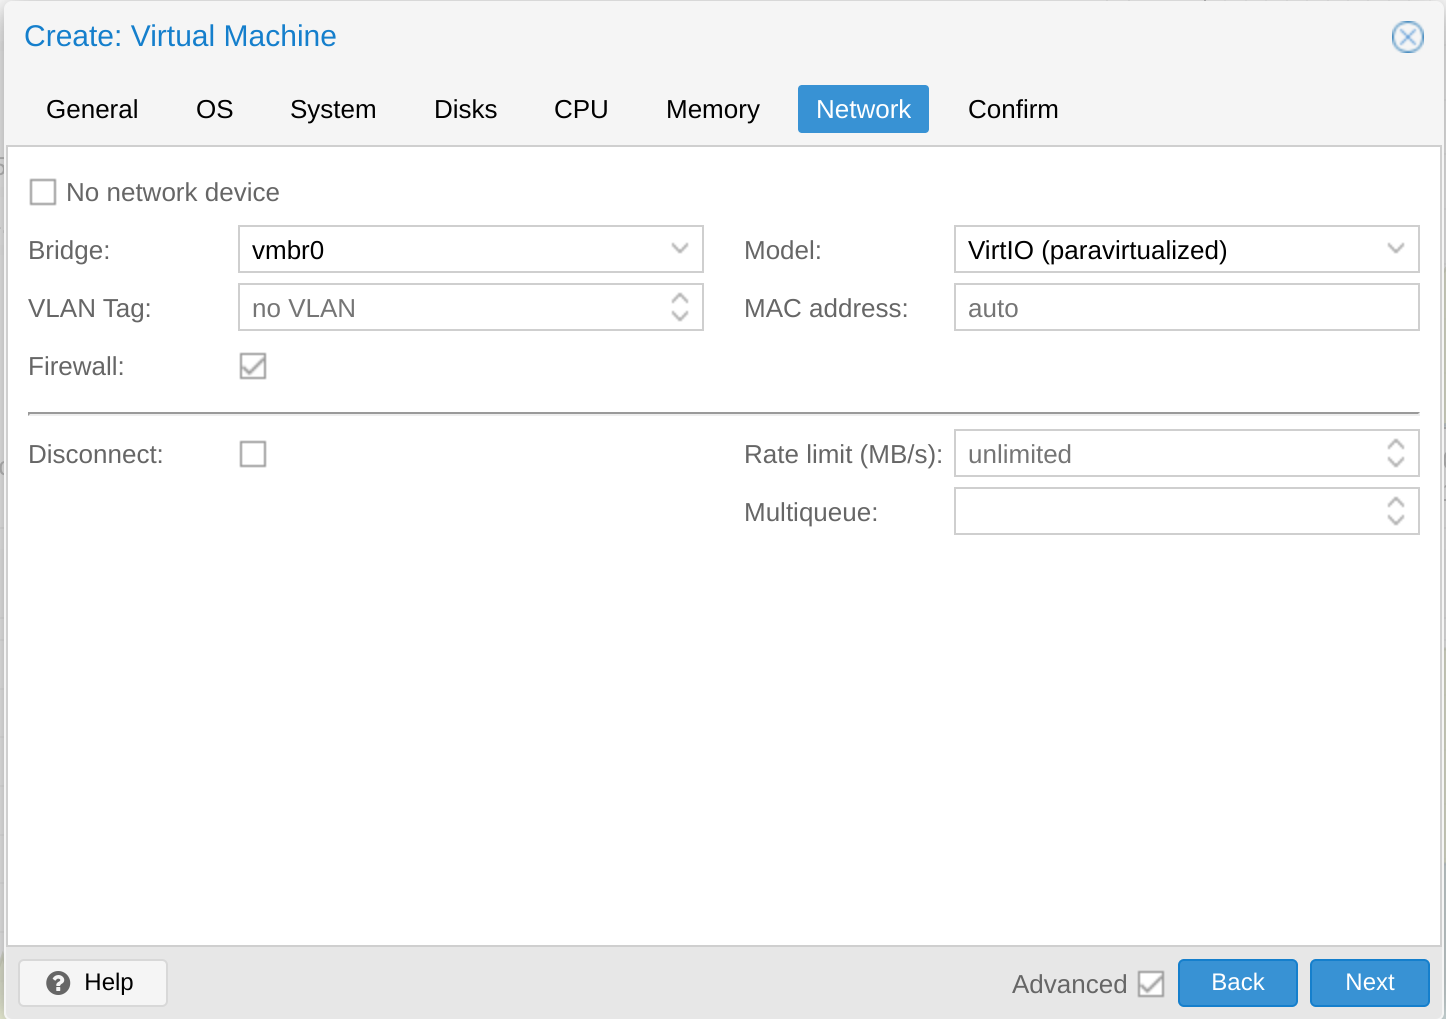
Leave the network as the default Bridge
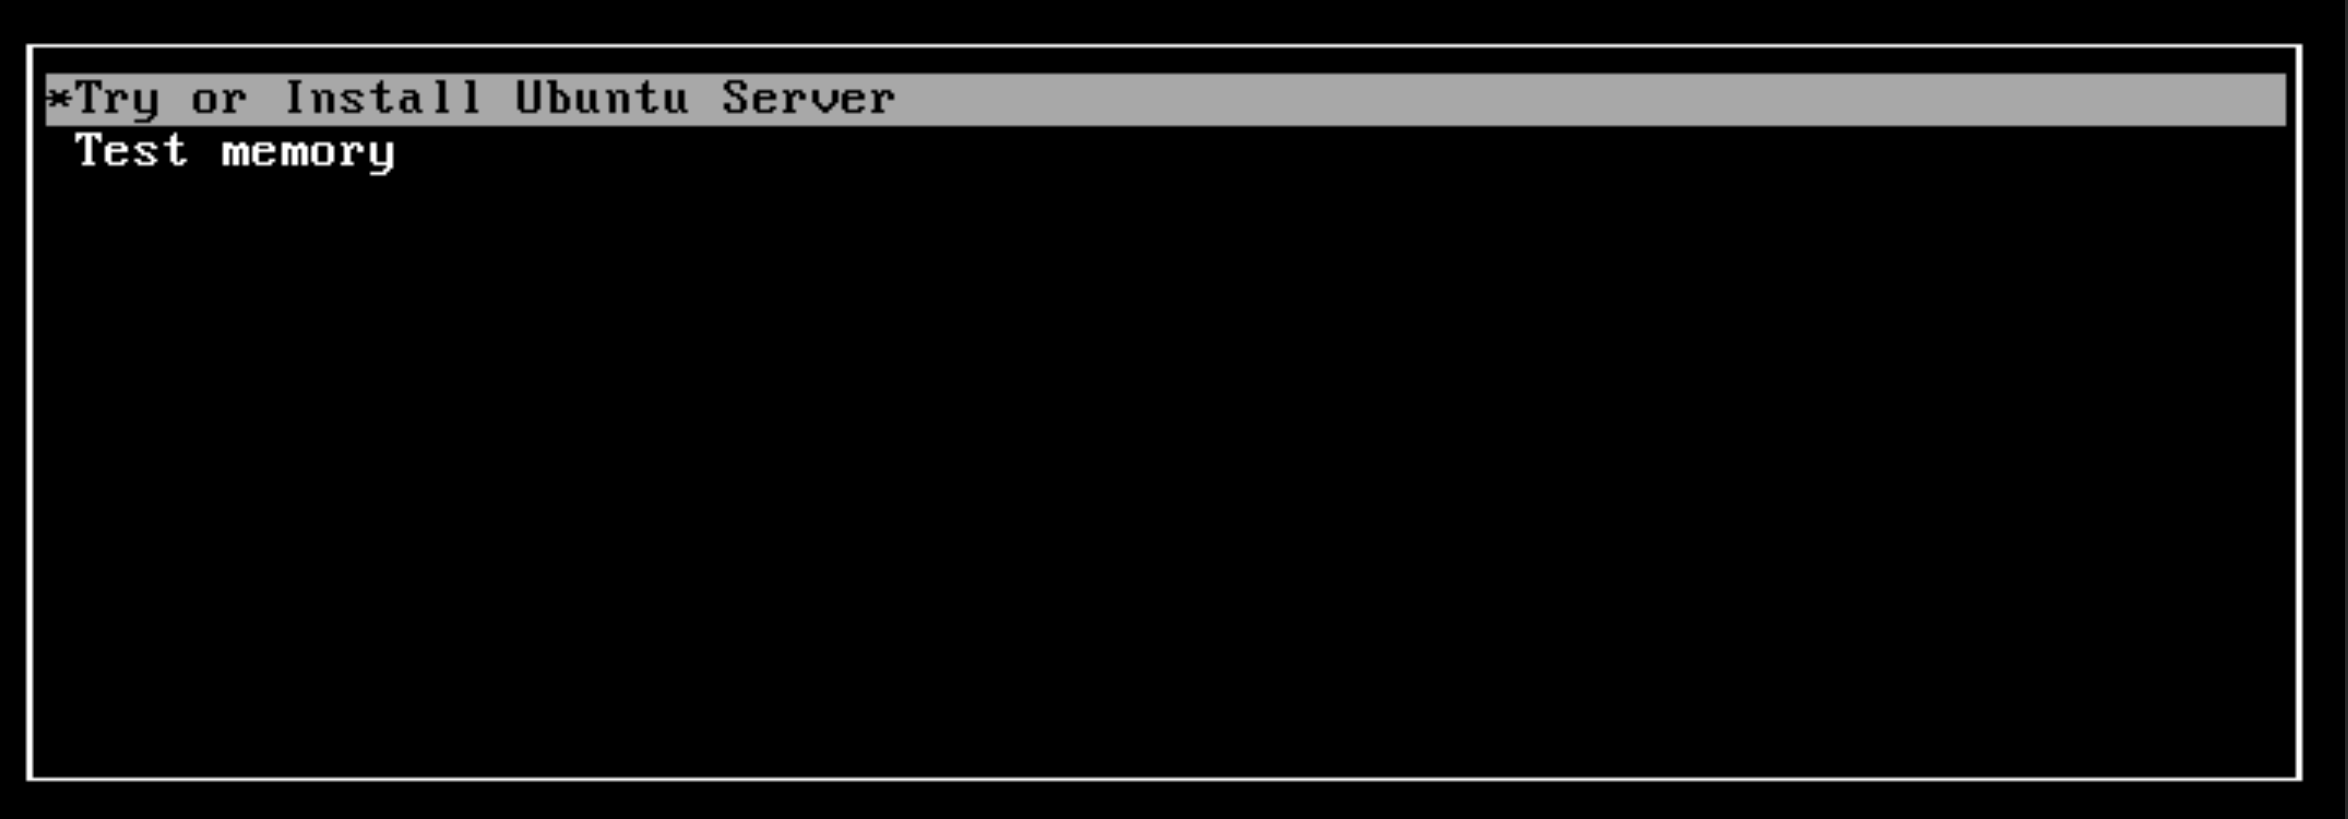
We could then finally confirm the VM, create it and start the installation with the console view within the hypervisor
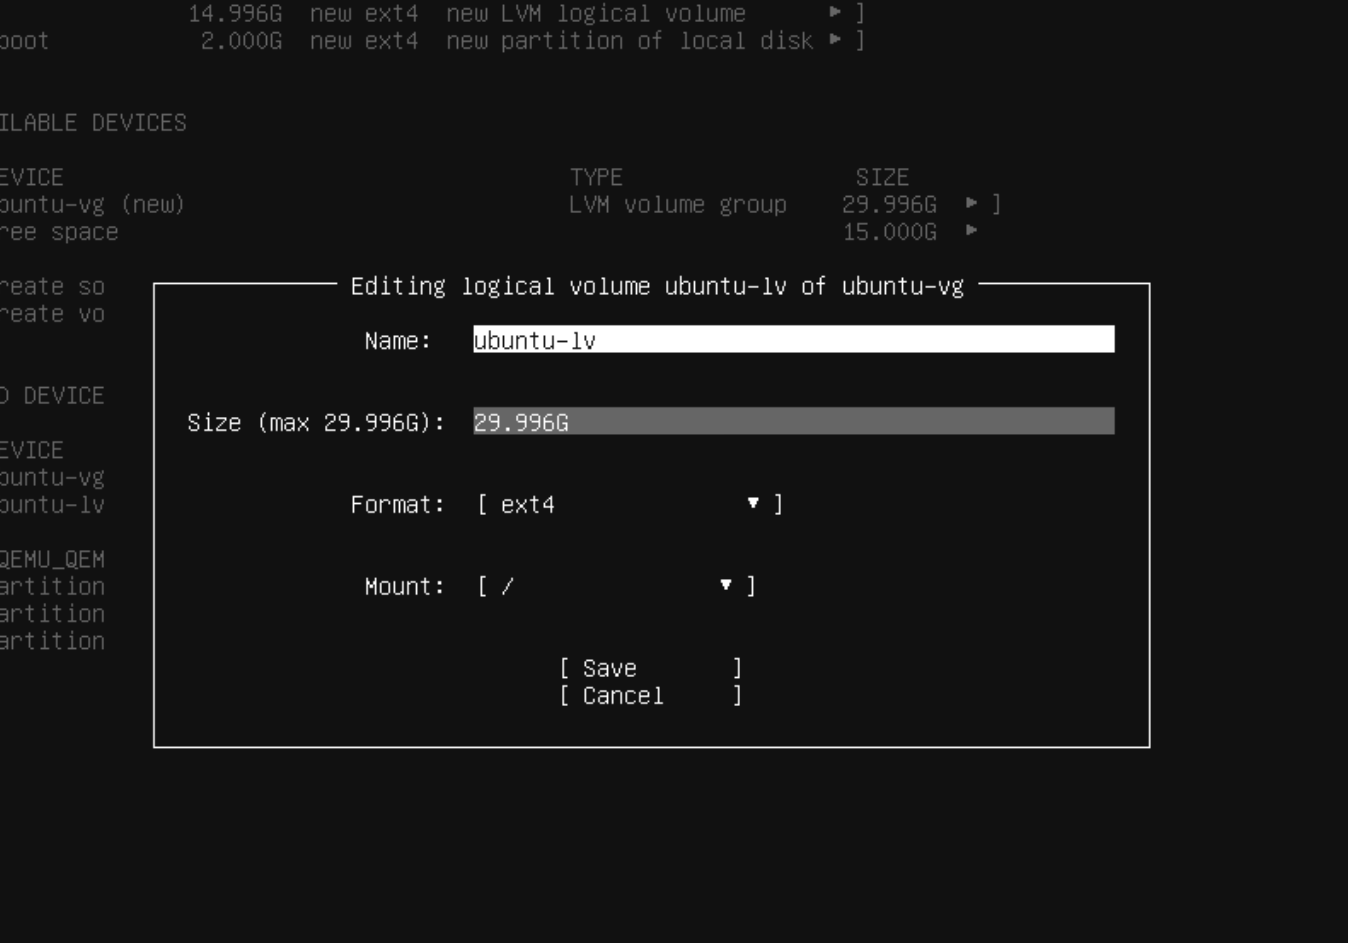
Make sure you configure the installer to use all the disk space available. Usually I would make more mount points for a Linux Server, but since it will just run a Kubernetes cluster in my homelab, I don't deem it too necessary. Mount points / and /boot are fine.

Install OpenSSH when prompted, to allow ssh from another pc. Once the VM has rebooted and running after the installation, ssh in and update.
bashsudo apt-get update && sudo apt-get upgrade
Install Containerd or Docker, this will install containerd.
Forward the IPv4 traffic by doing
bashcat <<EOF | sudo tee /etc/modules-load.d/k8s.confoverlaybr_netfilterEOFsudo modprobe overlaysudo modprobe br_netfilter# sysctl params required by setup, params persist across rebootscat <<EOF | sudo tee /etc/sysctl.d/k8s.confnet.bridge.bridge-nf-call-iptables = 1net.bridge.bridge-nf-call-ip6tables = 1net.ipv4.ip_forward = 1EOF# Apply sysctl params without rebootsudo sysctl --system
Follow instructions for Containerd to configure the systemd cgroup driver. We can use the default config file to configure containerd.
bashsudo containerd config default | sudo tee /etc/containerd/config.tomlsudo vi /etc/containerd/config.toml
Change SystemdCgroup to true
toml[plugins."io.containerd.grpc.v1.cri".containerd.runtimes.runc]...[plugins."io.containerd.grpc.v1.cri".containerd.runtimes.runc.options]SystemdCgroup = true
Restart containerd to apply the change
bashsudo systemctl restart containerd
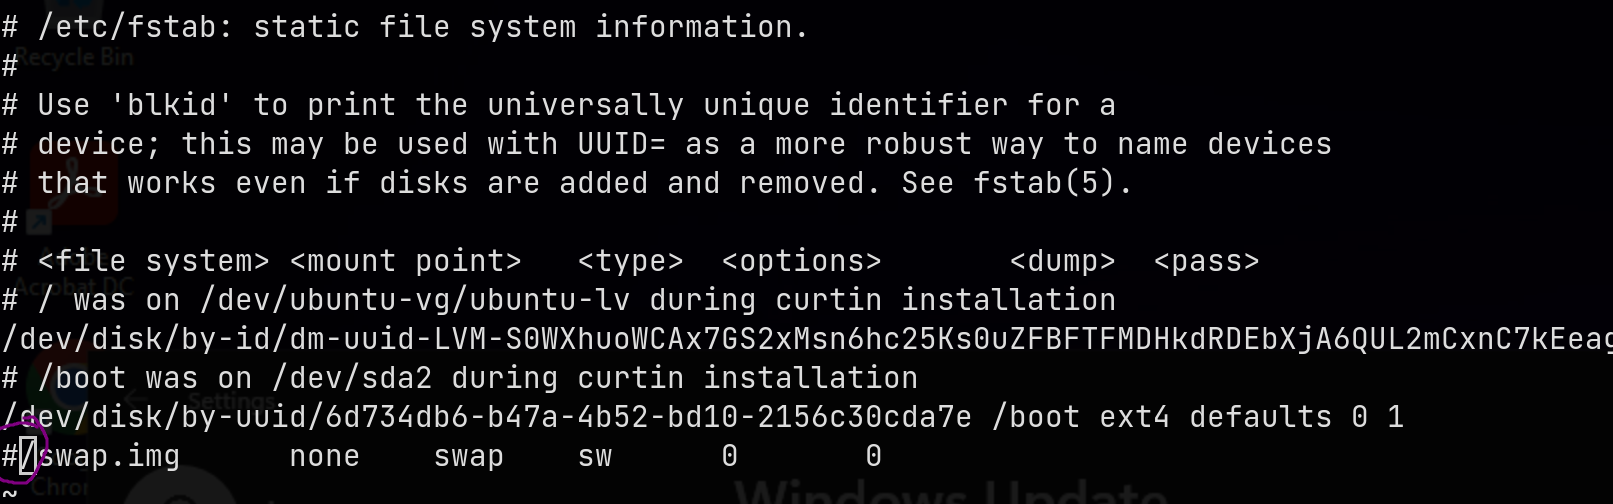
Switch off swap and also remove the swap.img
bashsudo swapoff -asudo rm /swap.img
Disable swap by commeting out the swap.img in fstab
bashsudo vi /etc/fstab
For NFS shares we can install nfs-common
bashsudo apt install nfs-common
This is to enable network persistent storage. In a later post I will use this to create persistent volume clains for files/databases etc.
Install Kubeadm by following the Kubernetes guide. For me it was:
bashsudo apt-get updatesudo apt-get install -y apt-transport-https ca-certificates curlsudo curl -fsSLo /etc/apt/keyrings/kubernetes-archive-keyring.gpg https://packages.cloud.google.com/apt/doc/apt-key.gpgecho "deb [signed-by=/etc/apt/keyrings/kubernetes-archive-keyring.gpg] https://apt.kubernetes.io/ kubernetes-xenial main" | sudo tee /etc/apt/sources.list.d/kubernetes.listsudo apt-get updatesudo apt-get install -y kubelet kubeadm kubectlsudo apt-mark hold kubelet kubeadm kubectl
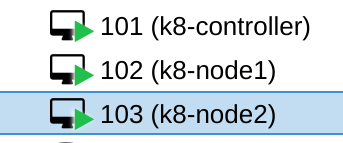
Now all everything is set that we need and we can clone the VM now. I named the two nodes k8-node1 and k8-node2
Power on the VMs and change the hostnames in
bashsudo vi /etc/hostnamessudo vi /etc/hosts
Now for each node, set fixed ip addresses (this is for Ubuntu 22.04)
bashsudo vi /etc/netplan/00-installer-config.yaml
yamlnetwork:ethernets:ens18:dhcp4: falsedhcp6: falseaddresses:- <IpAddress>/24routes:- to: defaultvia: <Gateway>nameservers:addresses: [8.8.8.8, 8.8.4.4]version: 2
Where <IpAddress> you will need insert the servers' fixed addresses.
Apply netplan to save the changes
bashsudo apply netplan
Configuring Kubeadm on control plane and nodes
Now on the VM which will be our control plane, we can run (read more about it here)
bashsudo kubeadm init --pod-network-cidr=10.244.0.0/16 --apiserver-advertise-address=<VM Ip> --control-plane-endpoint <VM Ip>
For a proper config you can do
bashkubeadm config print init-defaults | tee ClusterConfiguration.yaml
you will see the default CRI socket is containerd, which we installed previously and to see the defaults for the KubeletConfiguration
bashkubeadm config print init-defaults --component-configs KubeletConfiguration
Here you can see the default cgroup driver is cgroupDriver: systemd which should match containerd, which we also configured.
For networking we get one of the CNI plugins
I used Flannel in this case. Deploy it with
bashkubectl apply -f https://raw.githubusercontent.com/flannel-io/flannel/master/Documentation/kube-flannel.yml
Note that I set
--pod-network-cidr=10.244.0.0/16inkubeadm initto match the default CIDR of Flannel, if you used a custom CIDR, download the manifest first and modify the Network in the ConfigMap to match yours.
Lastly on the controller node, to be able to use kubectl
bashmkdir -p $HOME/.kubesudo cp -i /etc/kubernetes/admin.conf $HOME/.kube/configsudo chown $(id -u):$(id -g) $HOME/.kube/config
Now on the other nodes (ssh in to the other VMs) follow the prompt of the controller to join the controller
bashkubeadm join #### Here the output from the controller plane
To use kubectl remotely, you can copy the details of $HOME/.kube/config to the machine you want to work from (if you have network access to the server). I just merged the details of current my config file and the one one the controller node and then I can change the context with
bashkubectl config use-context kubernetes-admin@kubernetes
where kubernetes-admin@kubernetes was the default.
You can also use the config file as in the kubernetes docs
To see the nodes from the command line
bashkubectl get nodes

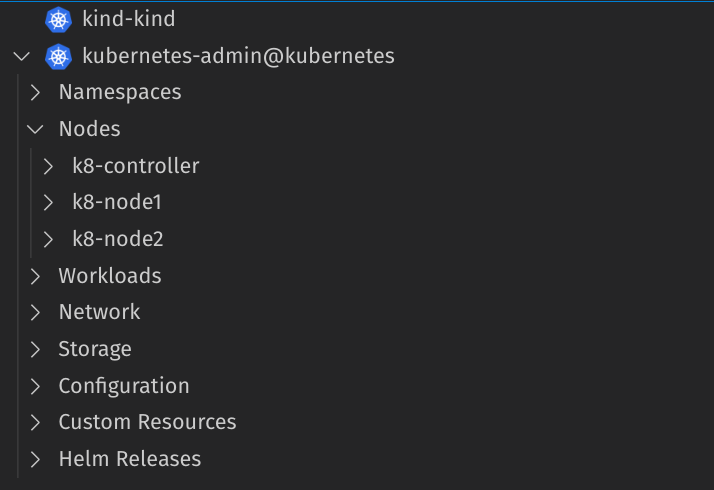
With the Kubernetes VS Code extension, you can view the current cluster
Installing the Loadbalancer
Now for a loadbalancer, we can get Metallb for a software solution. First configure kube-proxy if you want to use kube-proxy in IPVS mode. If you followed this guide, it's not necessary to do the following, for the sake of completion
bashkubectl get configmap kube-proxy -n kube-system -o yaml | \sed -e "s/strictARP: false/strictARP: true/" | \kubectl apply -f - -n kube-system
You can see what mode kube-proxy is running by looking in the logs (usually @ /var/log/pods/kube-proxy)

Now we need to install the metallb manifest
bashkubectl apply -f https://raw.githubusercontent.com/metallb/metallb/v0.13.5/config/manifests/metallb-native.yaml
Then we make a pool config, I have on my homelab 192.168.1.200-192.168.1.250 free to provision
yamlmetallb-config.yamlapiVersion: metallb.io/v1beta1kind: IPAddressPoolmetadata:name: first-poolnamespace: metallb-systemspec:addresses:- 192.168.1.200-192.168.1.250---apiVersion: metallb.io/v1beta1kind: L2Advertisementmetadata:name: l2namespace: metallb-system
Apply the config
bashkubectl apply -f metallb-config.yaml
The loadbalancer is ready now for some ingress
Installing Ingress
I decided to take Nginx, using Helm. Simply install Helm and then install Nginx with Helm for ingress.
bashhelm upgrade --install ingress-nginx ingress-nginx \--repo https://kubernetes.github.io/ingress-nginx \--namespace ingress-nginx --create-namespace
The cluster is now ready to deploy services. In a follow-up post I will explain how to deploy Apache Spark on Kubernetes as well as using persistent volume claims in order to write/read data from a NFS share.